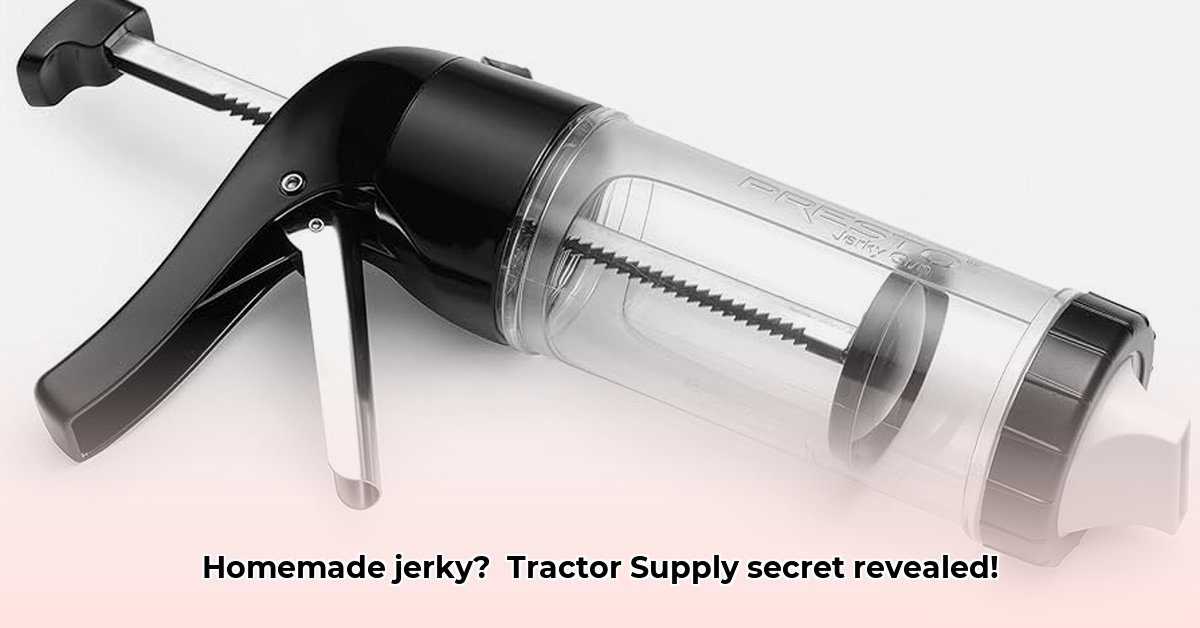
Ready to ditch the store-bought jerky and embark on a delicious, sustainable food adventure? Making your own jerky at home is easier than you think, and a jerky gun from Tractor Supply can significantly upgrade your jerky game. This isn't just about a tasty snack; it's about crafting delicious, healthy food, minimizing waste, and enjoying the satisfaction of creating something amazing with your own two hands. For more information on jerky guns, check out Tractor Supply Jerky Guns.
Jerky Gun Tractor Supply: Your Homemade Jerky Journey Begins
The rising popularity of homemade jerky isn't just a trend; it's a reflection of a growing desire for healthier, more sustainable food choices. With a jerky gun, you take control of the ingredients, ensuring high-quality jerky free from artificial preservatives and additives. This guide will take you through every step, from selecting the perfect meat to achieving that perfect, mouthwatering texture.
Gear Up: The Essential Jerky-Making Arsenal
Before you start, gather your equipment. You'll need your trusty jerky gun (from Tractor Supply or a comparable retailer), a meat grinder (for that perfect consistency), your favorite seasonings (get creative!), and, of course, your chosen meat. Lean cuts of beef are popular, but don't be afraid to experiment—venison, turkey, even fish can yield fantastic results! Remember parchment paper for your dehydrator trays to ensure clean lines and prevent sticking.
Meat Prep: The Foundation of Flavorful Jerky
The journey to amazing jerky starts with proper meat preparation. Begin by grinding your meat using your meat grinder. Aim for a fine grind—the finer the grind, the more tender and evenly textured your finished jerky will be. Next, the fun part: incorporating your favorite seasonings. Whether you're drawn to classic smoky flavors, fiery spice, or something entirely unique, this is your chance to unleash your culinary creativity. Thoroughly mix the seasoned meat to ensure even flavor distribution throughout.
Mastering the Jerky Gun: A Step-by-Step Guide
Now for the action! Here’s a step-by-step guide to using your jerky gun:
Loading Up: Gently fill the jerky gun's hopper with your seasoned meat mixture. Avoid overfilling to prevent spills and jams.
Nozzle Selection: Choose the nozzle that matches your desired jerky thickness. Thicker nozzles produce larger pieces, while thinner nozzles create classic, thin strips. Securely attach your chosen nozzle.
Dispensing the Deliciousness: Position the nozzle above your parchment-lined dehydrator trays. Apply steady, even pressure to the trigger, dispensing the meat mixture in consistent strips.
Dehydration Time: Once your trays are loaded, place them in your dehydrator. Follow the recipe's instructions for temperature and drying time. Experimentation is key to finding the perfect balance between dryness and chewiness. Remember a lower temperature for longer will yield better results.
Drying Your Jerky: The Art of Patience
This is where the magic happens. Proper dehydration is crucial for creating delicious, safe jerky. A low, consistent temperature over a longer period will produce superior results better than high heat which can burn your jerky thus ruining its flavor profile. Patience is rewarded here—the amazing texture and taste are worth the wait!
The Sustainable Side of Homemade Jerky
Homemade jerky offers several environmental benefits. You control the ingredients, reducing reliance on processed foods and preservatives. Sourcing your meat locally minimizes your carbon footprint. Plus, you significantly reduce packaging waste compared to store-bought jerky. Isn't that a delicious way to be environmentally responsible?
Troubleshooting: Conquering Jerky Challenges
Encountering problems? Here's a handy troubleshooting guide:
| Problem | Possible Cause | Solution |
|---|---|---|
| Jerky is too tough | Over-dehydration | Reduce drying time or temperature next time. |
| Jerky is too soft | Under-dehydration | Increase drying time or temperature slightly. |
| Jerky is unevenly cooked | Inconsistent dehydrator temperature | Check your dehydrator's temperature settings. |
| Jerky is sticky or gummy | Too much moisture in the meat | Try using a leaner cut of meat or grind finer. |
Beyond the Basics: A World of Jerky Flavors
Your jerky gun opens a world of flavor possibilities. Experiment with different meats (venison, turkey, even exotic options!), spices, and marinades. Once you've perfected your technique, share your creations with friends and family, or even explore selling your homemade jerky at local farmers' markets.
How to Reduce Waste When Making Jerky at Home
Minimizing waste while making delicious jerky is easier than you might think. Let's explore strategies to ensure you're making the most of your ingredients and minimizing your environmental impact.
Smart Preparation: Planning for Less Waste
Before you even think about firing up your jerky gun, smart preparation makes all the difference:
Meat Selection: Opt for lean cuts of meat. Excess fat renders out during drying, resulting in less usable jerky and a greasy mess. Trim carefully. Ground meat is ideal for jerky guns, utilizing the entire meat portion.
Recipe Planning: Plan batch sizes carefully, matching your jerky gun's capacity. Smaller, full-gun batches are better than one large, wasteful batch.
Precise Spice Measurement: Carefully measure spices to avoid excess or shortage. This reduces expensive spice waste. Prepare seasoning mixes beforehand.
The Jerky Gun's Waste-Reducing Power
A jerky gun offers significant advantages over traditional methods:
Consistent Thickness: Even thickness ensures even drying, minimizing spoilage.
No More Trimming: Ground meat eliminates extensive trimming, saving meat and time.
Less Mess: Minimized spills mean less cleanup.
Mastering Minimal Waste: A Step-by-Step Guide
Meat Prep: Grind your meat to the recommended consistency.
Seasoning: Combine ground meat with your marinade, mixing thoroughly.
Gun Loading: Carefully load the seasoned meat into the hopper.
Dispensing: Squeeze the gun to dispense the mixture evenly.
Dehydration: Follow dehydrator instructions.
Cooling and Storage: Let jerky cool completely before storing in airtight containers.
Advanced Waste Reduction Techniques
Marinade Reuse: Some marinades are reusable (ensure no contamination!).
Scrap Utilization: Leftover marinade can be used in soups or stews.
Creative Repurposing: Small pieces can be used as snacks or salad toppings.
Troubleshooting and Tips for Success
Overly Dry Jerky? Adjust your dehydrator settings.
Uneven Drying? Ensure even meat distribution and airflow.
Key Takeaways:
- Proper meat selection and planning minimize waste.
- A jerky gun ensures consistent drying and reduces losses.
- Careful seasoning and dehydrator use reduce spoilage.
- Leftovers can be repurposed creatively.